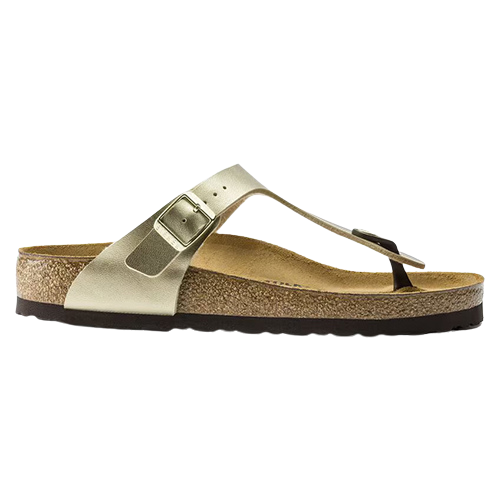
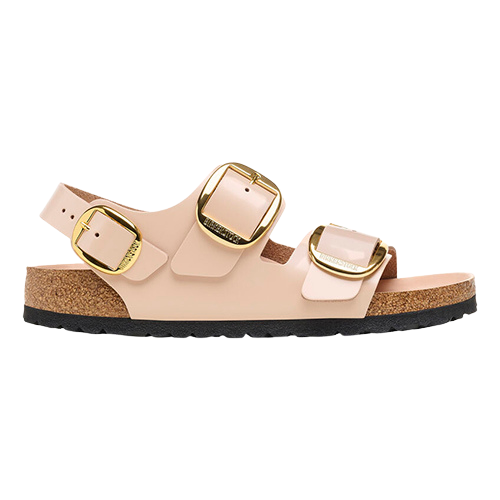
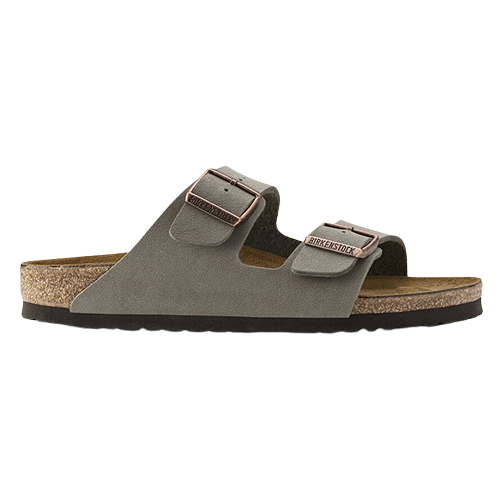
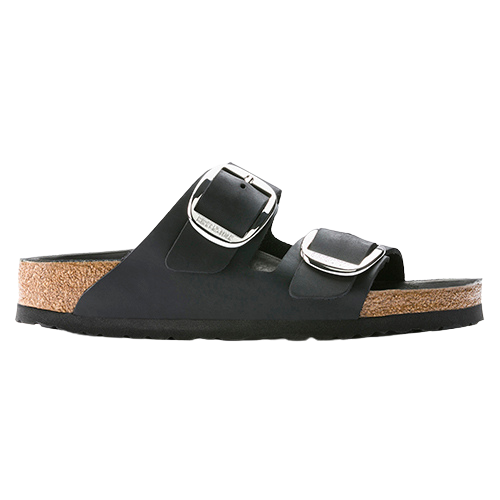
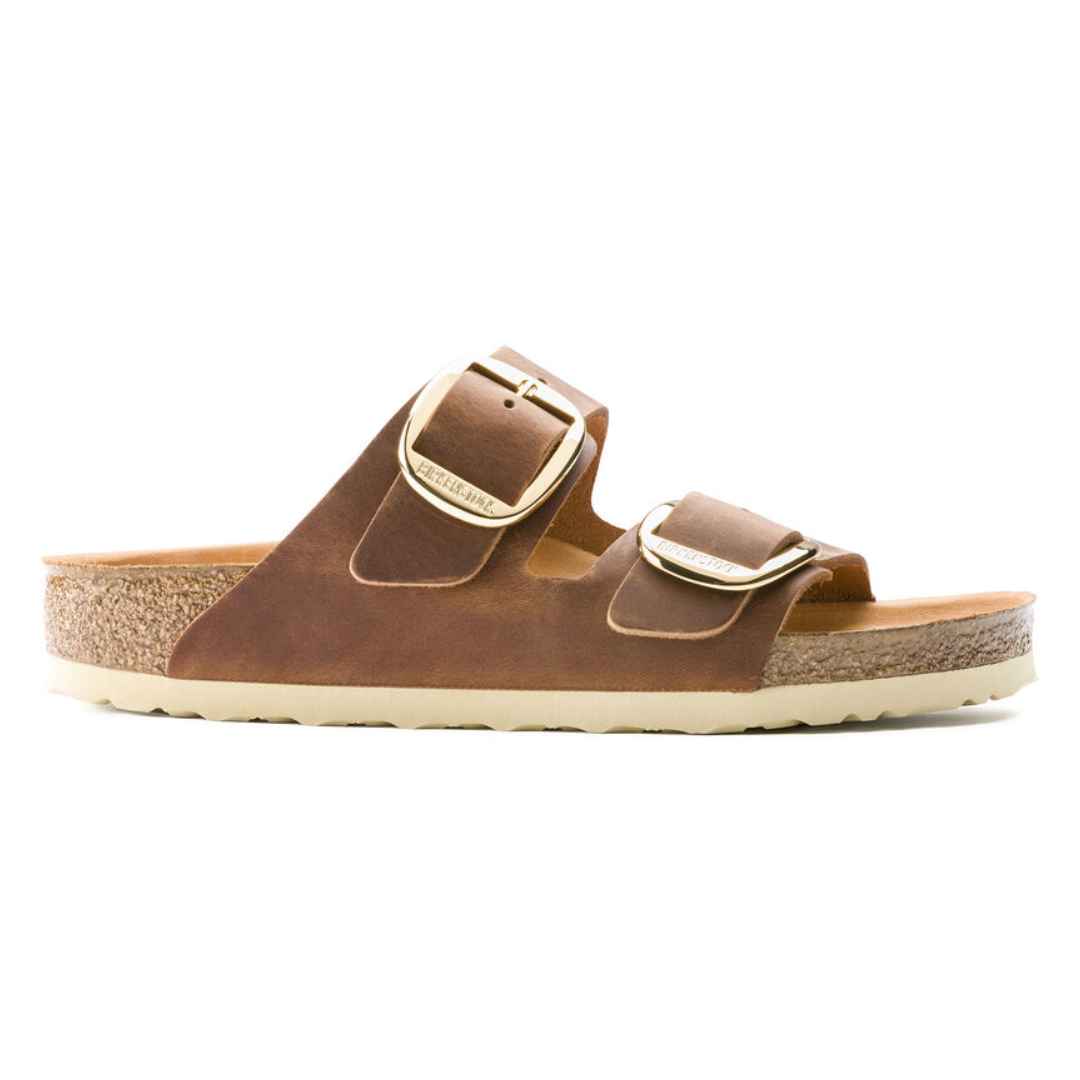
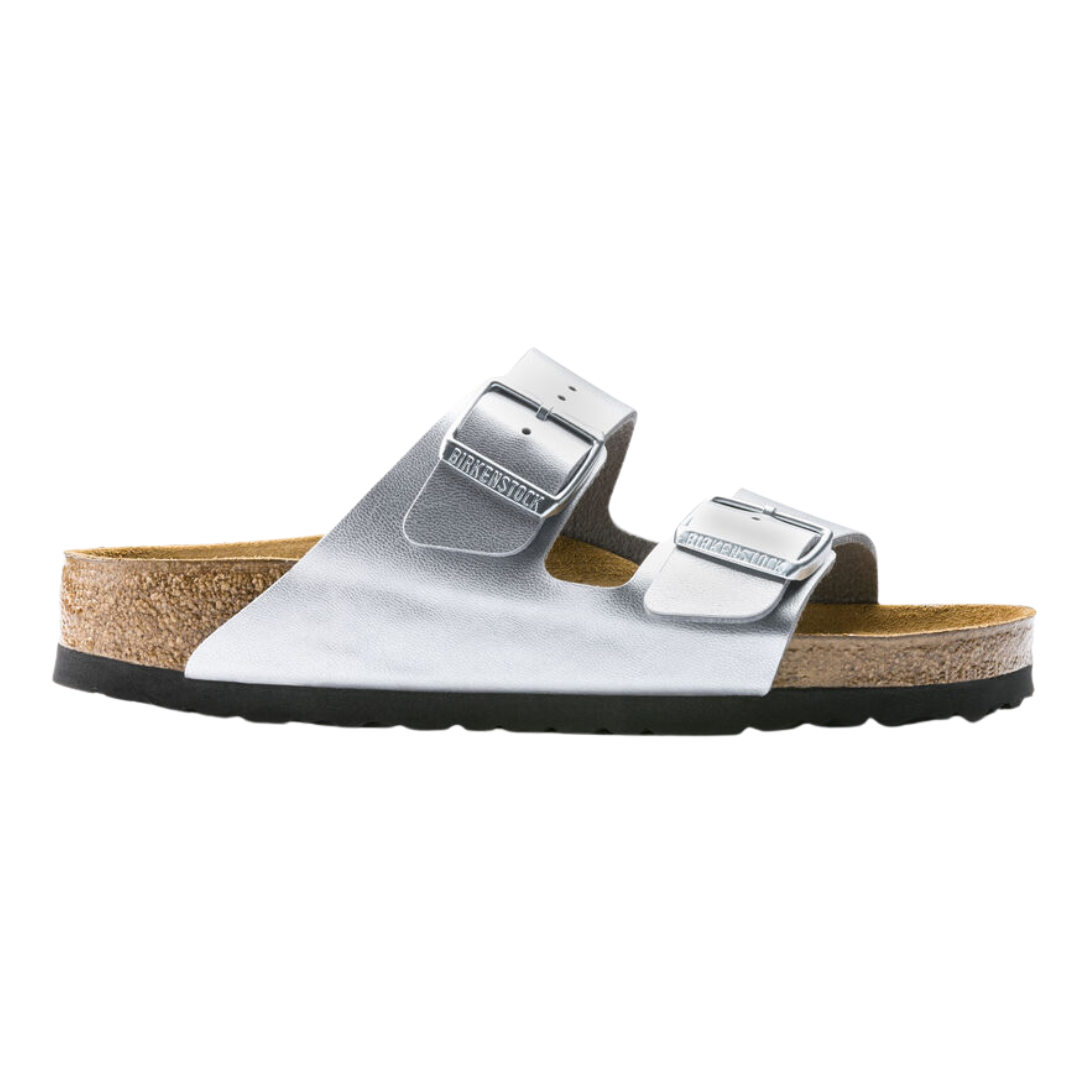
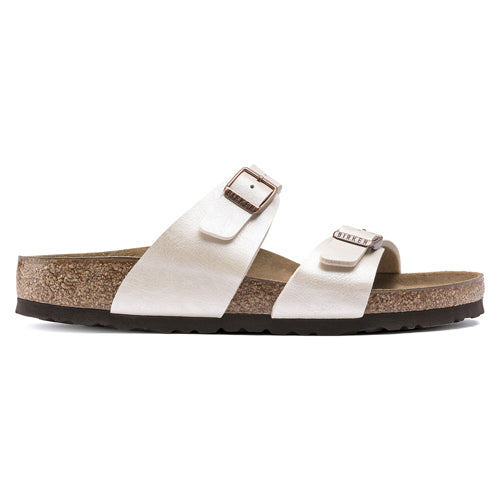
Let’s be honest, once you break in a pair of Birkenstocks, they basically become an extension of your body. But after a few sunny strolls, iced coffees on the go, and maybe a cheeky beach day, they can start to look a bit… well, loved. And while we love the whole “worn-in” aesthetic, there’s a fine line between “effortlessly cool” and “a bit manky.”
So if your Birks are in need of a little TLC, don’t panic! We’ve got your back (and your feet). Whether you're rocking natural leather, smooth leather, or suede/nubuck styles, this simple step-by-step guide will show you how to clean your leather Birkenstock sandals without ruining them. Your sandals (and your summer outfits) will thank you.
🧼 What You’ll Need:
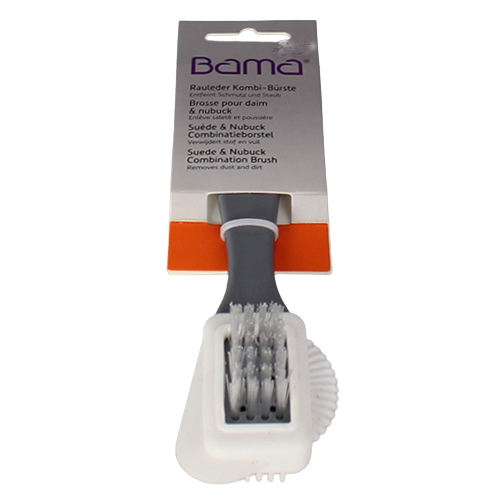
- A soft brush (a suede brush is fab for suede or nubuck)
- An old toothbrush (yes, really)
- A clean, lint-free cloth
- Leather shampoo (you can find these in most shoe shops or online)
- Two bowls of lukewarm water
*Before we start off, please always remember to test a small non-visible patch with any cleaning products first.
Step 1: Remove Any Dirt or Dust
For Suede or Nubuck Leather:
Grab your brush and gently remove any coarse dirt or dried-on dust. A few light strokes should do the job, no need to scrub the life out of them.
For Natural or Smooth Leather:
Wipe down the straps with a slightly damp lint-free cloth. Emphasis on “slightly”—you don’t want to soak the leather!
Step 2: Get in There with a Damp Brush
Open the straps and use your damp brush to clean inside all the nooks and crannies. Then, go over the outside of the straps too.
Now for the footbed (the bit that usually needs the most love):
Mix a little leather shampoo with lukewarm water, and use your old toothbrush to massage it in gently with circular motions. This bit is strangely satisfying.
Step 3: Remove the Lather
Use your wet cloth to wipe away the shampoo suds. Important: Do not hold the sandals under running water and don’t fully soak them! Too much water can damage the footbed and ruin the shape.
Step 4: Clean the Sole
Still looking a bit grubby underneath?
Use your brush to tackle any dirt on the sole.
Then, follow up with a damp cloth for a final polish.
Step 5: Let Them Dry (Properly!)
Pop your Birks in a dry spot away from direct sunlight or heat. No radiators, no window sills, just somewhere room temp and chill.
They should be fully dry after about 24 hours. Once they’re ready:
- Brush the footbed if needed
- Close the straps
- Step back into fresh-as-new sandals 👏
You’re Good to Go!
That’s it! Your leather Birkenstocks are clean, refreshed, and ready for their next outing (coffee run? Weekend market? You name it). Cleaning them now and again will help keep them looking great all season long and beyond. If you want to extend the freshness try a suitable protecting spray.
🧽✨ Don’t forget to bookmark this guide for next time, and if you're eyeing a fresh new pair, check out our latest Birkenstock arrivals here 😉